Arduino/Genuino 101 入门教程五:蓝牙发送数据
手机端蓝牙软件查看101开发板发送过来的数据:我们通过手机端蓝牙软件连接101开发板,通过可视化界面显示从板子模拟口读到的数据变化。
操作步骤:
1.下载必要的手机端软件 nRF Toolbox ,我这里下的是ios板本!(顺便可以载下载一个软件: lightBlue,下一个教程会用到哦)

1.jpg (37.73 KB, 下载次数: 0)
下载附件
保存到相册
2016-3-20 10:32 上传
2.下载Arduino IDE程序
/* Copyright (c) 2015 Intel Corporation.All rights reserved. This library is free software; you can redistribute it and/or modify it under the terms of the GNU Lesser General Public License as published by the Free Software Foundation; either version 2.1 of the License, or (at your option) any later version. This library is distributed in the hope that it will be useful, but WITHOUT ANY WARRANTY; without even the implied warranty of MERCHANTABILITY or FITNESS FOR A PARTICULAR PURPOSE.See the GNU Lesser General Public License for more details. You should have received a copy of the GNU Lesser General Public License along with this library; if not, write to the Free Software Foundation, Inc., 51 Franklin Street, Fifth Floor, Boston, MA02110-1301USA// This sketch example partially implements the standard Bluetooth Low-Energy Heart Rate service. For more information: https://developer.bluetooth.org/gatt/services/Pages/ServicesHome.aspx/#include <CurieBle.h>BLEPeripheral blePeripheral; // BLE Peripheral Device (the board you're programming)BLEService heartRateService("180D"); // BLE Heart Rate Service// BLE Heart Rate Measurement Characteristic"BLECharacteristic heartRateChar("2A37",// standard 16-bit characteristic UUID BLERead | BLENotify, 2);// remote clients will be able to get notifications if this characteristic changes // the characteristic is 2 bytes long as the first field needs to be "Flags" as per BLE specifications // https://developer.bluetooth.org/gatt/characteristics/Pages/CharacteristicViewer.aspx?u=org.bluetooth.characteristic.heart_rate_measurement.xmlint oldHeartRate = 0;// last heart rate reading from analog inputlong previousMillis = 0;// last time the heart rate was checked, in msvoid setup() {Serial.begin(9600); // initialize serial communicationpinMode(13, OUTPUT); // initialize the LED on pin 13 to indicate when a central is connected/ Set a local name for the BLE device This name will appear in advertising packets and can be used by remote devices to identify this BLE device The name can be changed but maybe be truncated based on space left in advertisement packet /blePeripheral.setLocalName("HeartRateSketch");blePeripheral.setAdvertisedServiceUuid(heartRateService.uuid());// add the service UUIDblePeripheral.addAttribute(heartRateService); // Add the BLE Heart Rate serviceblePeripheral.addAttribute(heartRateChar); // add the Heart Rate Measurement characteristic/ Now activate the BLE device.It will start continuously transmitting BLE advertising packets and will be visible to remote BLE central devices until it receives a new connection /blePeripheral.begin();Serial.println("Bluetooth device active, waiting for connections...");}void loop() {// listen for BLE peripherals to connect:BLECentral central = blePeripheral.central();// if a central is connected to peripheral:if (central) { Serial.print("Connected to central: "); // print the central's MAC address: Serial.println(central.address()); // turn on the LED to indicate the connection: digitalWrite(13, HIGH); // check the heart rate measurement every 200ms // as long as the central is still connected: while (central.connected()) { long currentMillis = millis(); // if 200ms have passed, check the heart rate measurement: if (currentMillis - previousMillis >= 200) { previousMillis = currentMillis; updateHeartRate(); } } // when the central disconnects, turn off the LED: digitalWrite(13, LOW); Serial.print("Disconnected from central: "); Serial.println(central.address());}}void updateHeartRate() {/ Read the current voltage level on the A0 analog input pin. This is used here to simulate the heart rate's measurement.*/int heartRateMeasurement = analogRead(A0);int heartRate = map(heartRateMeasurement, 0, 1023, 0, 100);if (heartRate != oldHeartRate) { // if the heart rate has changed Serial.print("Heart Rate is now: "); // print it Serial.println(heartRate); const unsigned char heartRateCharArray[2] = { 0, (char)heartRate }; heartRateChar.setValue(heartRateCharArray, 2);// and update the heart rate measurement characteristic oldHeartRate = heartRate; // save the level for next comparison}}复制代码
3,可以在开发板的模拟口A0连接一个模拟量传感器,可以是光线传感器,声音传感器等,我这里直接在模拟口A0接了一根杜邦线。
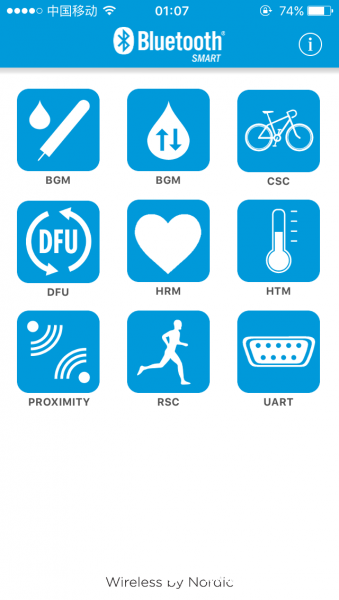
4,打开手机蓝牙,再打开软件nRF Toolbox
2.jpg (123.89 KB, 下载次数: 0)
下载附件
保存到相册
2016-3-20 10:34 上传
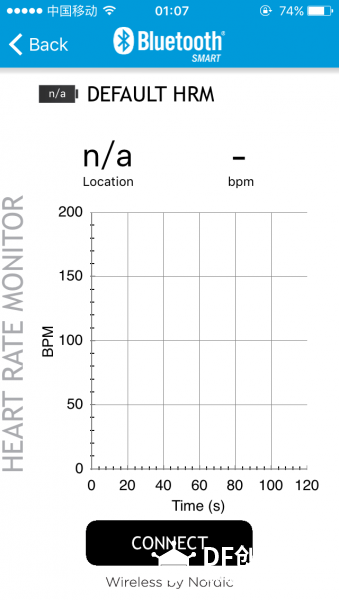
5.点击上面图片中的爱心图标,会出现下面的界面:
3.jpg (100.24 KB, 下载次数: 0)
下载附件
保存到相册
2016-3-20 10:35 上传
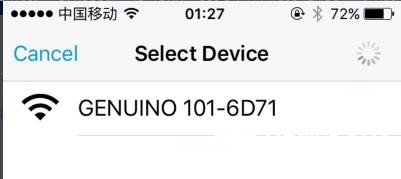
6.点击上面界面下面的CONNECT,会出现下面101开发板的蓝牙设备名称,点击名称连接即可!
4.jpg (13.13 KB, 下载次数: 0)
下载附件
保存到相册
2016-3-20 10:35 上传
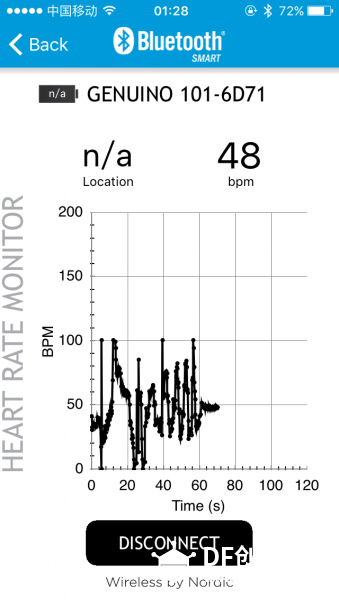
7.连接成功后,模拟口A0的数据就会在手机端显示出来,也能在IDE串口中查看读到的数据:
5.jpg (113.51 KB, 下载次数: 0)
下载附件
保存到相册
2016-3-20 10:35 上传
8.电脑端串口对应的数据:
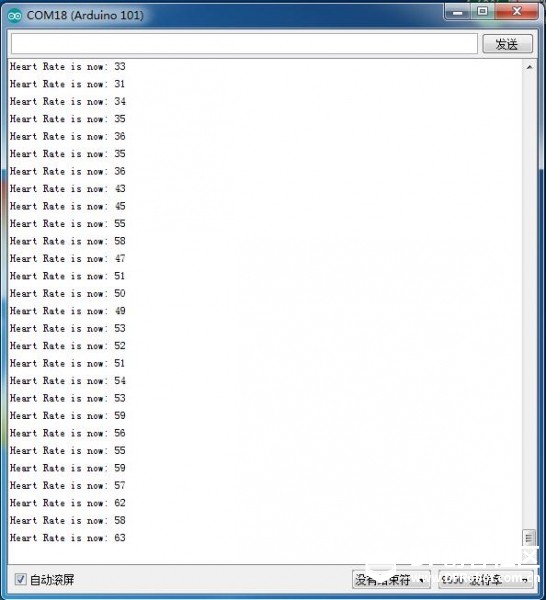
6.jpg (55.14 KB, 下载次数: 0)
下载附件
保存到相册
2016-3-20 10:37 上传
9.OK,基本操作已经做完了,要玩出什么花样就看你了!
看累了没,开心一刻:
某晚,一裸男叫了一辆出租车,女司机目不转睛盯着看他,裸男大怒,吼道:你他妈没见过裸男呀!女司机也大怒:我看你他妈从哪儿掏钱!
【Arduino/Genuino 101 入门教程】
Arduino 101 入门教程一:环境配置Arduino 101 入门教程二:获取加速度计和陀螺仪数据Arduino 101 入门教程三:姿态角Arduino 101 入门教程四:processing玩转六轴数据Arduino 101 入门教程五:蓝牙发送数据Arduino 101 入门教程六:蓝牙接收数据
- DF创客社区版权所有,欢迎转载。转载请务必标注来源: DF创客社区+作者姓名+原文网址。